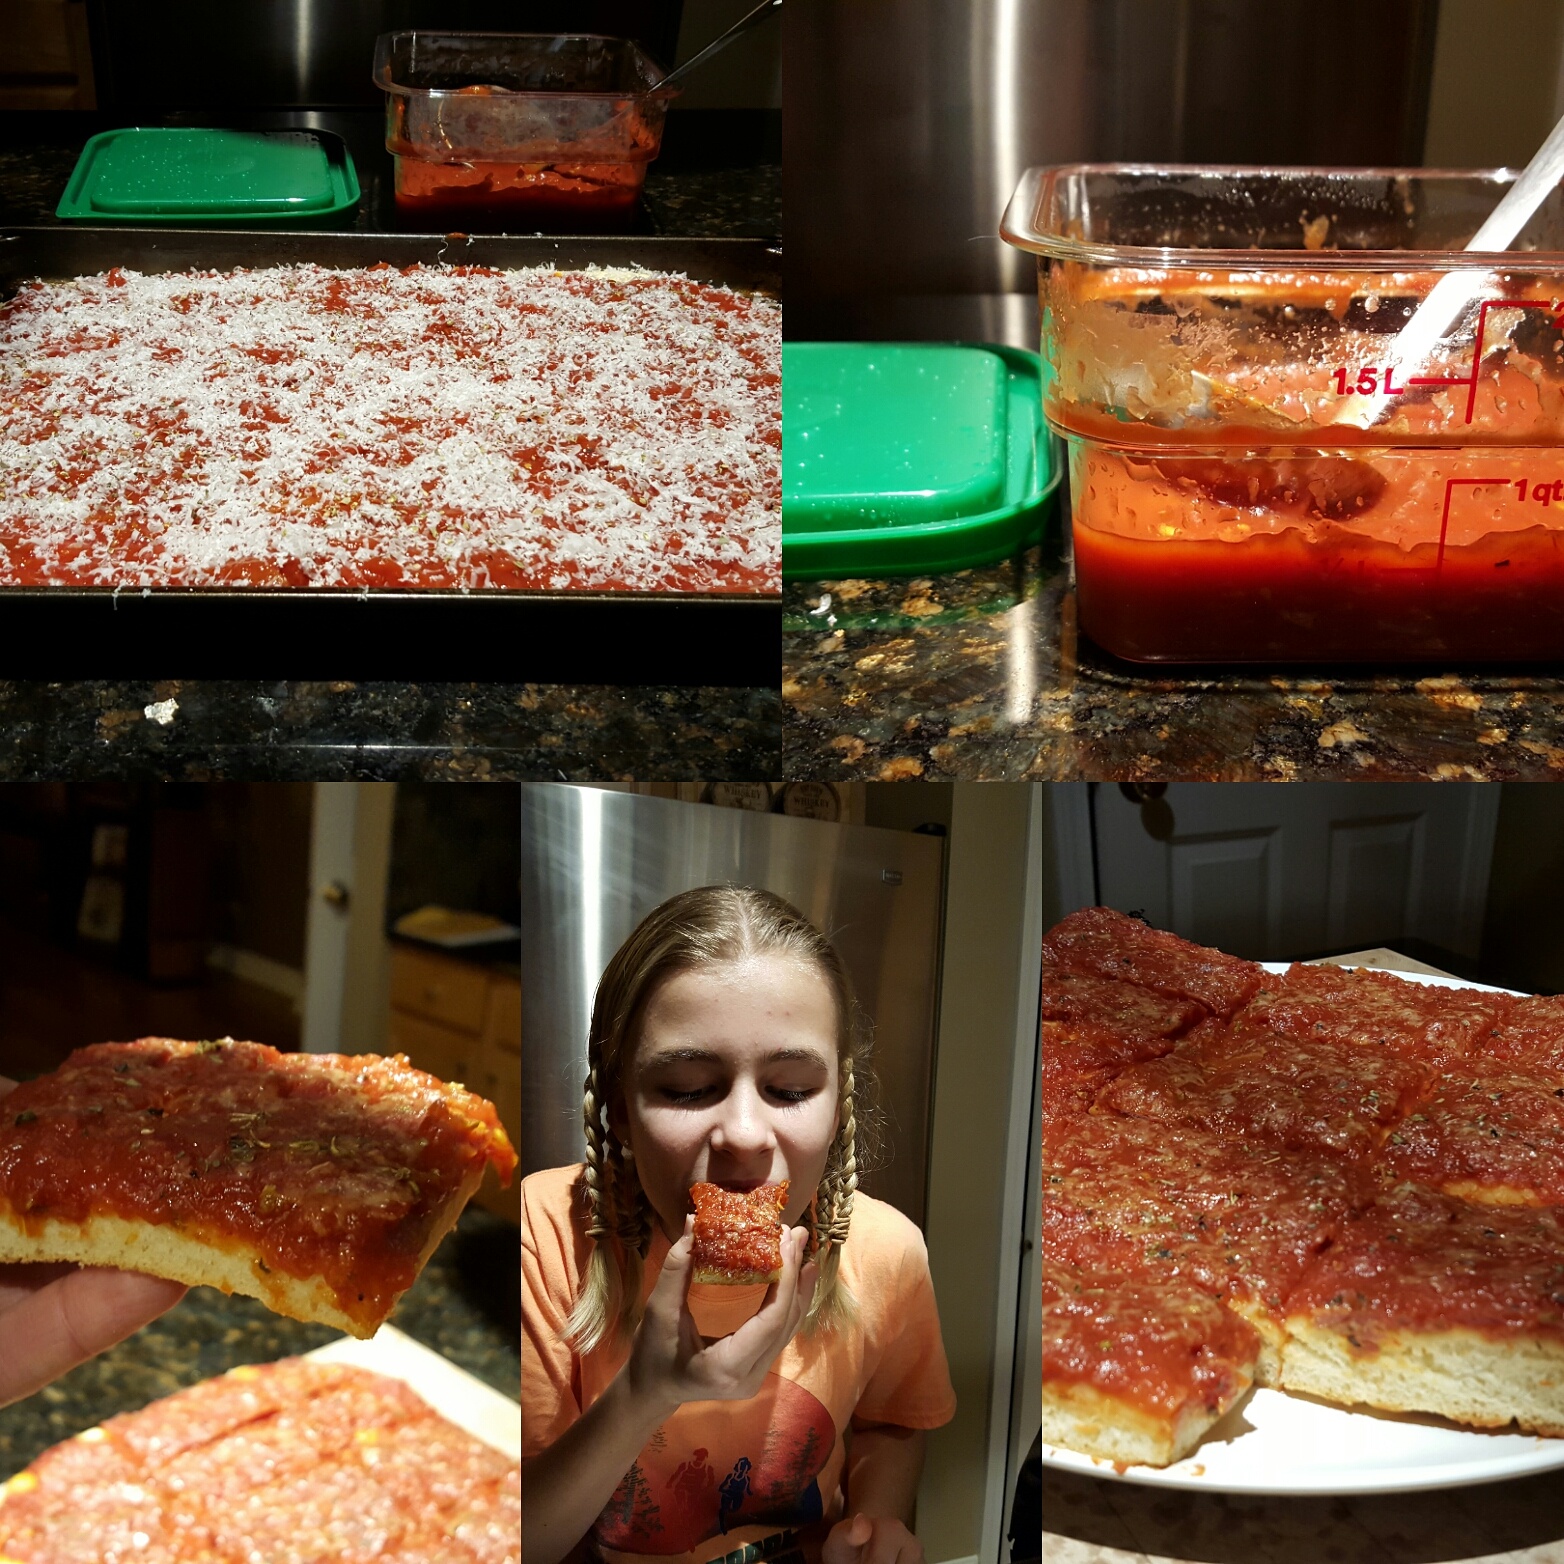
If
Tomate Pie is
Utica, NY’s favorite entrée, then pusties are its superstar dessert.
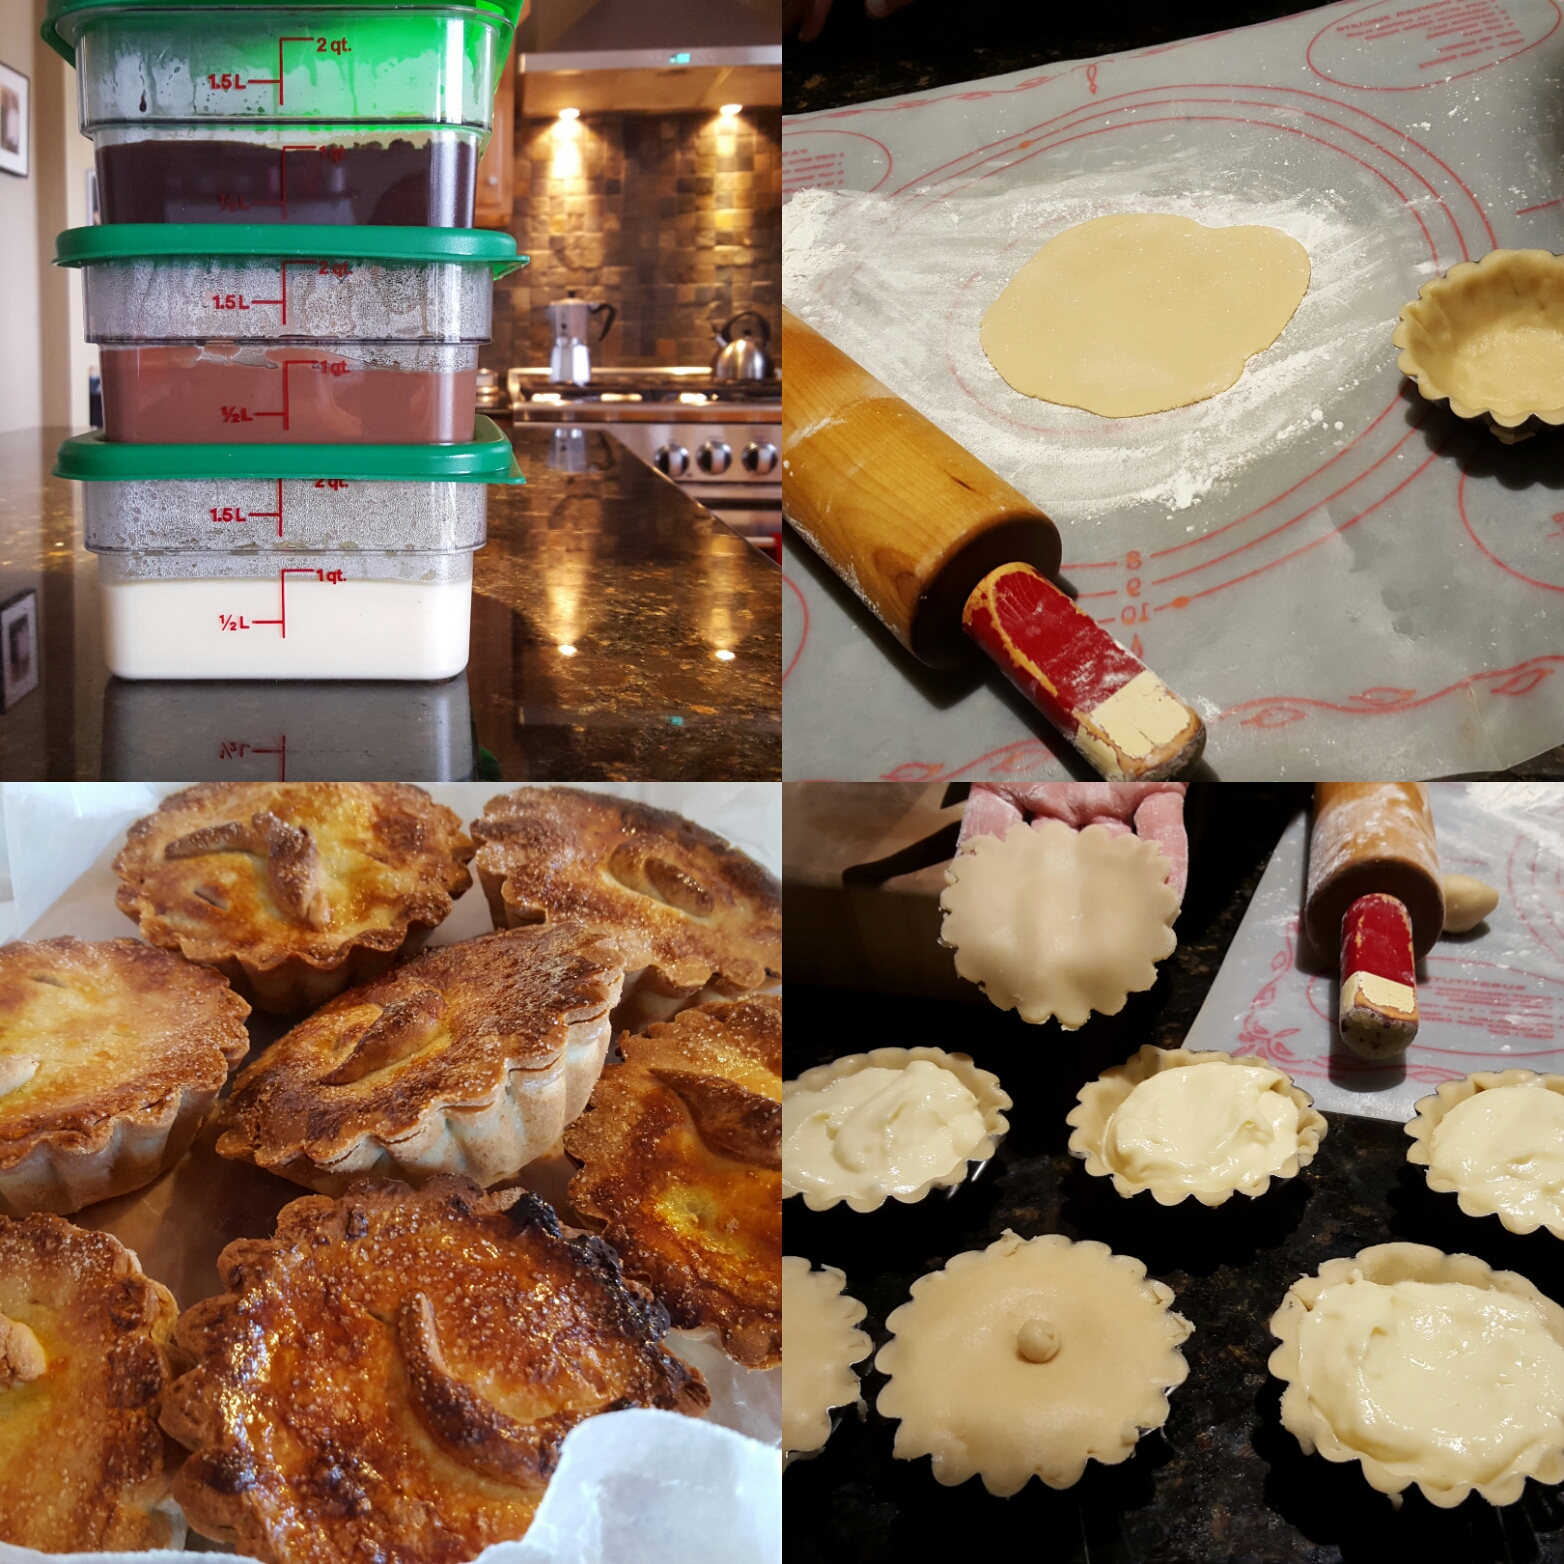
Pusties (aka, pasticciotti) are little pastry tarts filled with custard and baked in a unique fluted tin. It’s a culinary jewel that is maddeningly difficult to find outside of upstate New York. It’s also maddeningly difficult to make at home—which may explain why 87% of all outbound flights from Syracuse Airport contain at least one box of pusties in the overhead bin.
I made up that last statistic, but wouldn’t be shocked if it were true.
You’re probably asking yourself, “What could be so hard about making a custard-filled pastry tart?” Well…several things.
First, the equipment. To make pusties, you need pustie tins. And you won’t find pustie tins in any Walmart.
Then, you need a good recipe. This is no small task. Most people that live in Utica don’t make pusties, because it’s easier to buy them at a local bakery. And most people outside of Utica don’t make pusties because…well, they’ve never heard of them. Much like the Amish, pustie culture tends not to venture far from the ol’ homestead. So finding a decent recipe (i.e., one whose dough doesn’t crumble like a sand castle when touched with a rolling pin) involves either raiding somebody’s grandma’s file cabinet or playing Internet Russian Roulette.
Even with a good recipe in hand, the pustie-making process is laborious, time-consuming, and temperamental. Making the dough, making the custard, lining each tin with dough, filling each tin with custard, capping each tin with another layer of dough—it’s a multi-hour marathon, and that’s *with* helpers.
Then there’s the baking. This is the most frustrating part. Why? Because the top of the pusty is exposed to the oven’s heat…whereas the bottom and sides are shielded by the tin. This means, all too often, that your beautiful pustie—whose top looked so crisp and golden brown when you pulled it from the oven—emerges from the tin a doughy, undercooked tragedy.
Yet all these downsides pale in comparison to a pustie-celibate life. So my wife and I sacrificed many hours and hundreds of calories on a Quixotic quest to crack the pustie code.
And we think we’ve finally cracked it. The recipe is set forth below. If it kills your entire weekend, don’t say I didn’t warn you.
THE DOUGH
6 c All Purpose Flour
1 t Baking Powder
1 c Lard (broken, cut, or shaved into small pieces)
1 stick (i.e., ½ c) Unsalted Butter (broken, cut, or shaved into small pieces)
2/3 c Light or Dark Brown Sugar
2/3 cup Sugar
¼ c Honey
2 Eggs
½ c Water
STEP 1: In a large bowl, add baking powder, lard, butter, and 3 cups flour.
STEP 2: Mix together with your hands, as you would a pie crust.
STEP 3: Add sugars and mix further.
STEP 4: In a separate bowl, mix the eggs, water, and honey. Beat well.
STEP 5: Make a well in the center of the dry ingredients (i.e., the bowl containing the flour, baking powder, lard, and butter). Pour the egg mixture into the center and mix well with hands.
STEP 6: Continue adding flour ½ cup at a time and mix well until your reach the perfect consistency (i.e., not to sticky, yet not too dry/crumbly). You may or may not need all 6 cups of flour.
STEP 7: Knead for a few minutes, cover bowl with plastic wrap, and let rest in refrigerator for a few hours or overnight.
NOTE: This makes enough dough for forty (40) pusties (assuming 3.5 inch diameter pusty tin).
THE CUSTARD
(IN THIS CASE, VANILLA)
2 c Whole Milk
1 c Heavy Cream
3 Large Eggs
2/3 c Sugar
3 T Cornstarch
2 t Vanilla Extract
¼ t Nutmeg (freshly grated)
⅛ t Table Salt
STEP 1: Heat milk and cream in medium saucepan over medium-low heat until steaming. Be careful not to let it boil, or you’ll have a mess on your hands.
STEP 2: Whisk together eggs, sugar, cornstarch, vanilla, nutmeg, and salt in bowl.
STEP 3: Whisk steaming milk and cream into egg and cornstarch mixture in slow, steady stream.
STEP 4: Return egg and milk mixture to saucepan and cook over medium-low heat, stirring constantly with wooden spoon and scraping bottom of pan.
STEP 5: When custard begins to thicken and clump at the bottom of the saucepan, toss aside the wooden spoon and grab a whisk. Continue whisking the custard (breaking up the clumps at the bottom of the pan) until it thickens to the point that the whisk leaves a “trail” in the custard. Or, stated another way, keep whisking until the custard is thick enough to coat the back of a spoon and you can draw a line through it with your finger. Be careful not to over-thicken.
STEP 6: Remove from heat, pour into a bowl or Cambro, and cool to room temperature.
NOTE: This will make enough custard for ten (10) pusties.
CUSTARD VARIATIONS
- For chocolate custard, add ½ c cocao powder at Step 2 and omit nutmeg. Full disclosure: My father commented that he would like a bit more sugar in the chocolate custard.
- For dark chocolate custard, add ½ c dark cocao powder at Step 2 and omit nutmeg.
- For coconut pusties, just stir in a generous hand full of coconut at Step 6. Duh!
- For almond custard, add 2 t almond extract at Step 2 and omit vanilla extract.
- For lemon custard, add 1.5 T fresh lemon juice and 1.5 T grated lemon zest at Step 2 and omit nutmeg.
- For orange custard, add 1.5 T fresh orange juice and 1.5 T grated orange zest at Step 2 and omit nutmeg.
- For ketchup custard, add ½ c ketchup at Step 2 and omit nutmeg. Just kidding, sort of. Don’t be afraid to let your creativity fly. The pustie possibilities are endless…and man does not live on vanilla alone!
THE ASSEMBLY
Pustie Tins (you can buy these online from Flihan’s)
Pizza or Baking Stone
Rolling pin
Nonstick Spray (e.g., Pam)
Flour (for dusting work surface)
Egg yolks (beaten)
Pastry brush
Sugar (for sprinkling)
STEP 1: Place pizza stone on middle rack. Heat oven (and stone) at 500F for one hour. Seriously, let that stone heat for the full hour.
STEP 2: Meanwhile (as oven and stone are heating), spray pusty tins with non-stick spray. Do not flour the pustie tin, or my Uncle Sammy will kill you.
STEP 3: Break off little “meatball” of dough. On a lightly floured surface, use rolling pin to roll out dough into a thin round of 1/4 inch thickness. #ProTip: Alternatively, you can roll out a larger sheet of dough and cut out circles using a glass or bowl of the correct diameter (this method is faster than the meatball method, FWIW).
STEP 4: Place rolled-out dough round into pusty tin. Use thumbs to press dough into bottom and sides of the tin. Remove excess, overhanging dough.
STEP 5: Fill pustie with custard of choice. #ProTip: Don’t overfill it! Leave a half inch or so of breathing room. Both the custard and the dough will plump in the oven, so overfilling will cause the lid (described in Step 6 below) to crack and/or separate from the base. That said…#ProTip: Don’t underfill it either–or your guests will feel cheated. (This is a persnickety recipe. This is one of a thousand ways to screw it up.)
STEP 6: Roll out another little “meatball” of dough into a thin round. This will be the pustie’s “lid.” Cover pustie top with lid of dough, crimp with fingers to seal, and remove excess, overhanging dough. #ProTip: Brush the rim of the pastie with water before topping with and crimping the lid. This will help keep the lid from blowing open–yet another way to screw up this persnickety recipe. My grandmother (i.e., “Nonnie“) would place a little “button” of dough in the center of each vanilla pustie’s lid, so that we could distinguish the vanilla ones from the chocolate. Kids today would call that a “life hack.”
STEP 7: Brush top of pustie with beaten egg and sprinkle lightly with sugar. Then, using a paring knife, poke a couple small slashes into the pustie’s lid so that steam can escape during baking.
STEP 8: Repeat Steps 3 through 7 until you’ve prepared enough pusties to fill a baking pan.
STEP 9: When you’re ready to rock, lower the oven temperature to 450F and turn on the convection fan (assuming you have a convection oven).
STEP 10: Cover baking pan full of pusties with aluminum foil and place directly onto heated baking stone. #ProTip: Spray the underside of the foil with Pam before covering pusties, otherwise it may stick to the lids–another of the thousand ways to screw up this persnickety recipe. Bake for approximately 5 minutes. Remove foil and bake for another 20 minutes (#ProTip: Rotate the sheet 180 degrees after 10 minutes to ensure even browning), until the sides and bottoms of the pusties are golden brown. Listen to me, people! There’s nothing worse than a doughy, undercooked pustie. Well, actually…a hot dog baked into a chocolate brownie is worse. But you catch my drift. A lot of people screw up perfectly good pusties by removing them from the oven too soon. We know this from experience. You can’t judge a pustie’s doneness by the color of the lid. The lid will brown well before the bottom and sides, so don’t freak out. Those pusties need to stay in the oven until the bottom and sides are browned.
STEP 11: Let cool and remove from tins. Because, you know…you can’t eat the tins.


As with all recipes on this website, this one will be subject to a continuous improvement process. We’ll continue tinkering with this recipe until it becomes 100% idiot-proof. Updates to the original post will be identified below.
We’d welcome critiques or suggestions for improvement from you, as well.
#CrowdSourcing Question (December 23, 2021): Is the singular form of pusties (a) “pustie,” or (b) “pusty?” Any Utica grandmothers out there with an opinion on this life or death question? I hope the answer is (a), or I’ll have a lot of editing to do here.
